Your guide to DIY electronic, woodworking, camping projects and more
Posts tagged projector

How to Make a $20 DIY Projector Screen
114 years
Got a good lcd or dlp projector? Do you want to know how to make your own cheap projector screen / diy projector screen? Here’s how (these directions make a 3:4 screen with approx 80 inch diagonal–adjust to your own specifications):
What you need:
- Two (2) yards of 54″ white/white budget blackout cloth – from joann.com – normal price $5.99/yd ($2.99 with 50% coupon code from retailmenot.com) Total: $5.98+shipping/tax= $14
- Three (3) 1″x3″x8′ firring strips from Home Depot – $1.34/ea Total: $4.02+tax = $5
- 20 or so 1/2″ wood screws, Total: $1
- Scrap 1/4″ plywood, 1 sq ft is enough Total: Free
- Staple Gun with staples (assume you have this already, if not, I got the Arrow Fastener T50 Heavy Duty Staple Gun
for about $20)- it’s a workhorse, built to last
- Saw
- Hammer
- Straight edge
- Tape measure
Steps:
- Start by measuring the firring strips to the appropriate lengths. To make an 80 inch diagonal 3:4 ratio DIY projector screen, you’ll need two 43″ lengths (sides) and two 64″ lengths (top and bottom).
- Cut the firring strips to the measured lengths
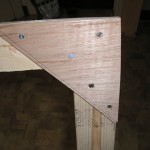
- Cut 4 right angle triangles from the plywood, large enough to support the corners.
- Attach the plywood triangles to the corners of the frame using the wood screws, being sure to attach the screws so as to secure the frame tightly in place.
- Unroll the blackout cloth, smoother side down on a large, clean carpeted area. Place wooden frame face-down, centered onto the cloth.
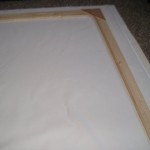
- Fold one side up over the frame and staple, starting from the middle and working out. Tap staples down with hammer to tighten grip.
- On the opposite side of the frame, firmly pull the cloth tightly over the frame and staple, again from middle outward, being sure to fix any wrinkles. Once it looks tight and flat, hammer down the staples on this side also.
- Repeat steps 6 and 7 for the remaining sides, being sure pull the cloth as tight as possible by hand.
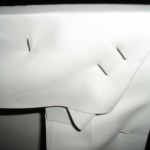
- Finish the corners with staples to hold the fabric folds.
- (Optional) Cut excess cloth with a utility knife, being sure not to nick your screen.
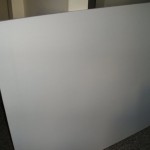
- Hang and project on your new $20 DIY projector screen.


